Part 1: Protecting Angular Frontend with Azure Active Directory
This is a first part in the series of how to protect an application with Azure AD. Application contains angular based front end and .net core based webapi.
In this part we will be protecting front end developed in angular with Azure AD. We will use Microsoft Authentication Library(MSAL) to protect our application.
We are going to be following below steps in this article
- Register an application in Azure AD
- Download quick start angular application template
- Configure Angular website with Azure AD
- Run the application
1. Register an application in Azure AD
We would need to first create application registeration in azure active directory. This application registration represents our angular front end web application. If we have webapi backend then we will require to create separate application registration for that component.
Lets start by following below steps for registering our website in Azure AD
- Sign in to the Azure Portal
- Switch to a tenant where you want to register an application. This is done by switching directory.
- Search for and select Azure Active Directory
- On the left panel, under Manage, click on Application Registration.
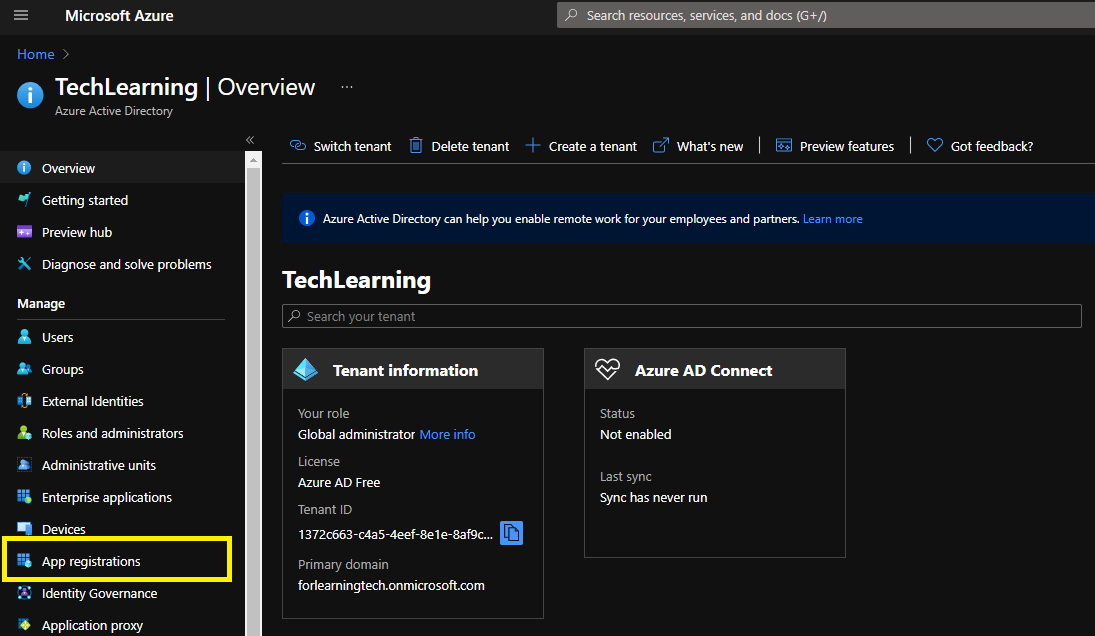
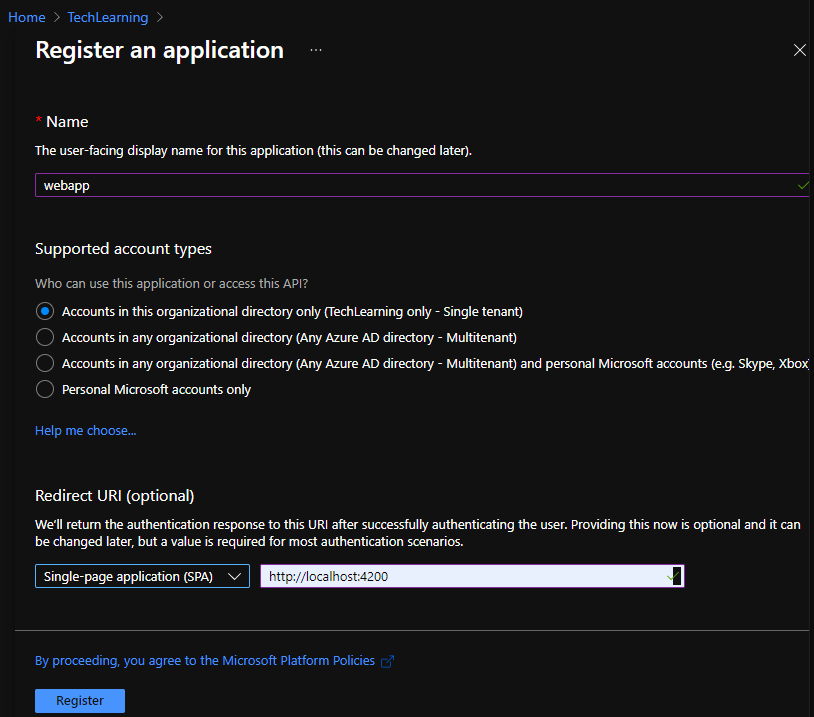
- Click on “New registration”.
- Provide Name.
- In Supported Account Types”, since we are developing this website as single tenant , we will Select “Accounts in this organizational Directory only”. With this configuration, only users only from your directory can login to this website.
- In Redirect URI section, select Single-page-application(SPA). Specify appropriate redirect uri where Azure AD should redirect user after successful login. In our case, we would just specify “http://localhost:4200”.
- From the overview section of the registered application, record Application (client) ID & Directory (tenant) ID. In my case, ApplicationId= 35cf9790-0ba2-4916-b348-032d308a3e99 & TenantId=1372c663-c4a5-4eef-8e1e-8af9c94ff77a.
2. Download quick start angular application template
You can find many samples in below github repository for javascript based applications
https://github.com/AzureAD/microsoft-authentication-library-for-js.git
For our website, we would use following quick start template from this repository
https://github.com/AzureAD/microsoft-authentication-library-for-js/tree/dev/samples/msal-angular-v2-samples/angular11-sample-app
3. Configure Angular website with Azure AD
We would use Application (client) ID & Directory (tenant) ID recorded in the first step to configure angular application.
- Open the application in your favorite editor.
- Open app.module.ts located in app folder
- Search for MSALInstanceFactory method in this file, and update it with correct clientId & Authority values. Update the Authority value with appropriate TenantId. If Authority key is not present then add it as below.
  export function MSALInstanceFactory(): IPublicClientApplication {
  return new PublicClientApplication({
    auth: {
      clientId: '35cf9790-0ba2-4916-b348-032d308a3e99', // <--- Update ClientId here
      redirectUri: '/',
      postLogoutRedirectUri: '/',
      authority: "https://login.microsoftonline.com/1372c663-c4a5-4eef-8e1e-8af9c94ff77a" // <-- Update TenantId here
    },
    cache: {
      cacheLocation: BrowserCacheLocation.LocalStorage,
      storeAuthStateInCookie: isIE, // set to true for IE 11. Remove this line to use Angular Universal
    },
    system: {
      loggerOptions: {
        loggerCallback,
        logLevel: LogLevel.Info,
        piiLoggingEnabled: false
      }
    }
  });
}
4. Run the application
Now our website is configured with appropriate details. Now it’s the time to see everything in action. start you website by executing following command
ng serve
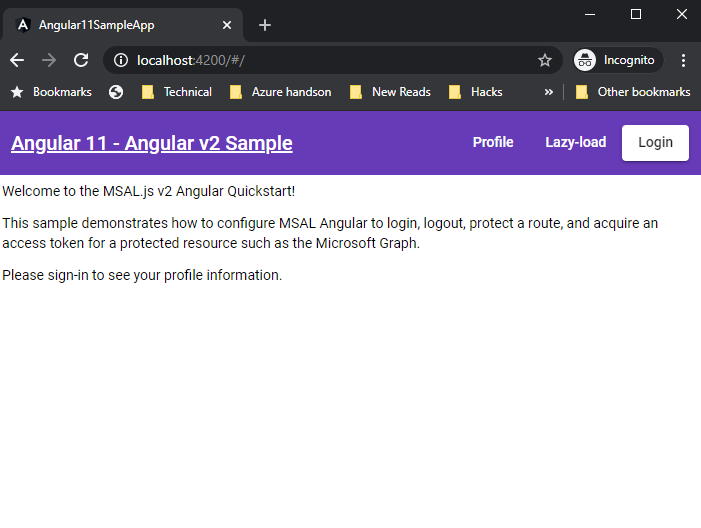
- Open the website in the browser, it should be available at http://localhost:4200.
- You will see three buttons at the top. Click on Login.
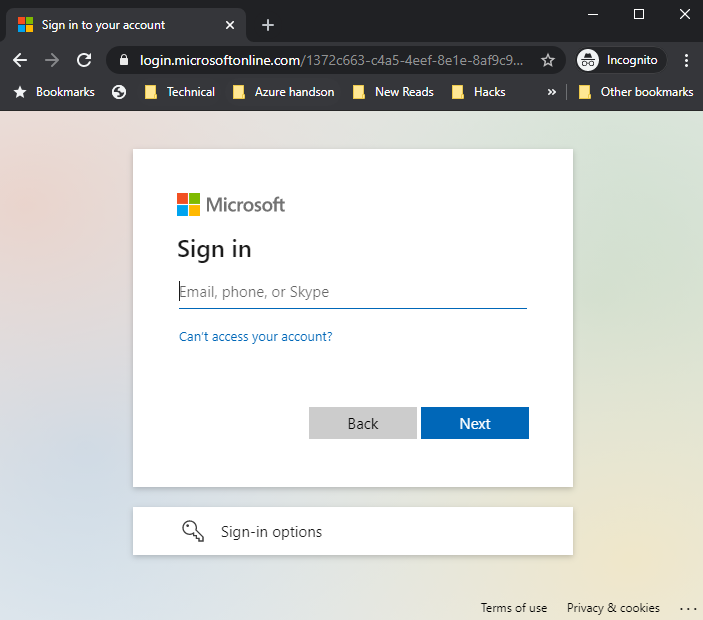
- This will redirect you to following Azure AD page where you can specify username & password.
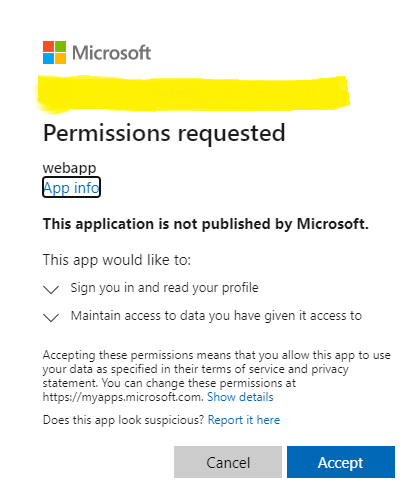
- Upon providing correct credentials, it will show you a consent page like below. Click on Accept.
- Azure AD redirects you to a “Redirect URL” specified in appliction registration along with appropriate token.
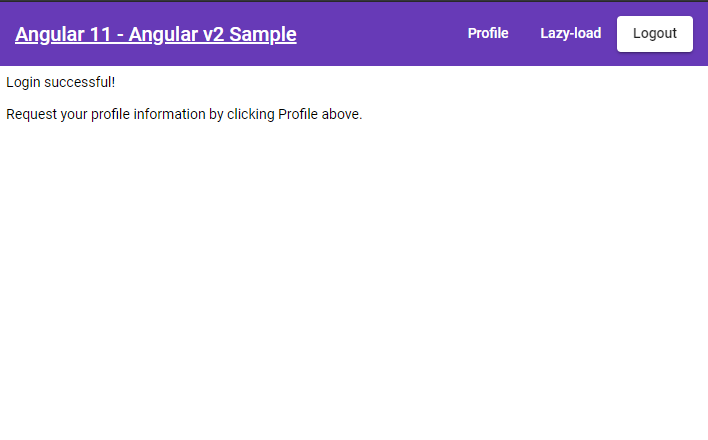
- You can click on “Profile” button at the top to see some information from your Azure AD profile. Application basically does a “Graph Api” call using logged in user’s credentials.

Comments